Making of assets in GIMP
Plant assets » Devlog
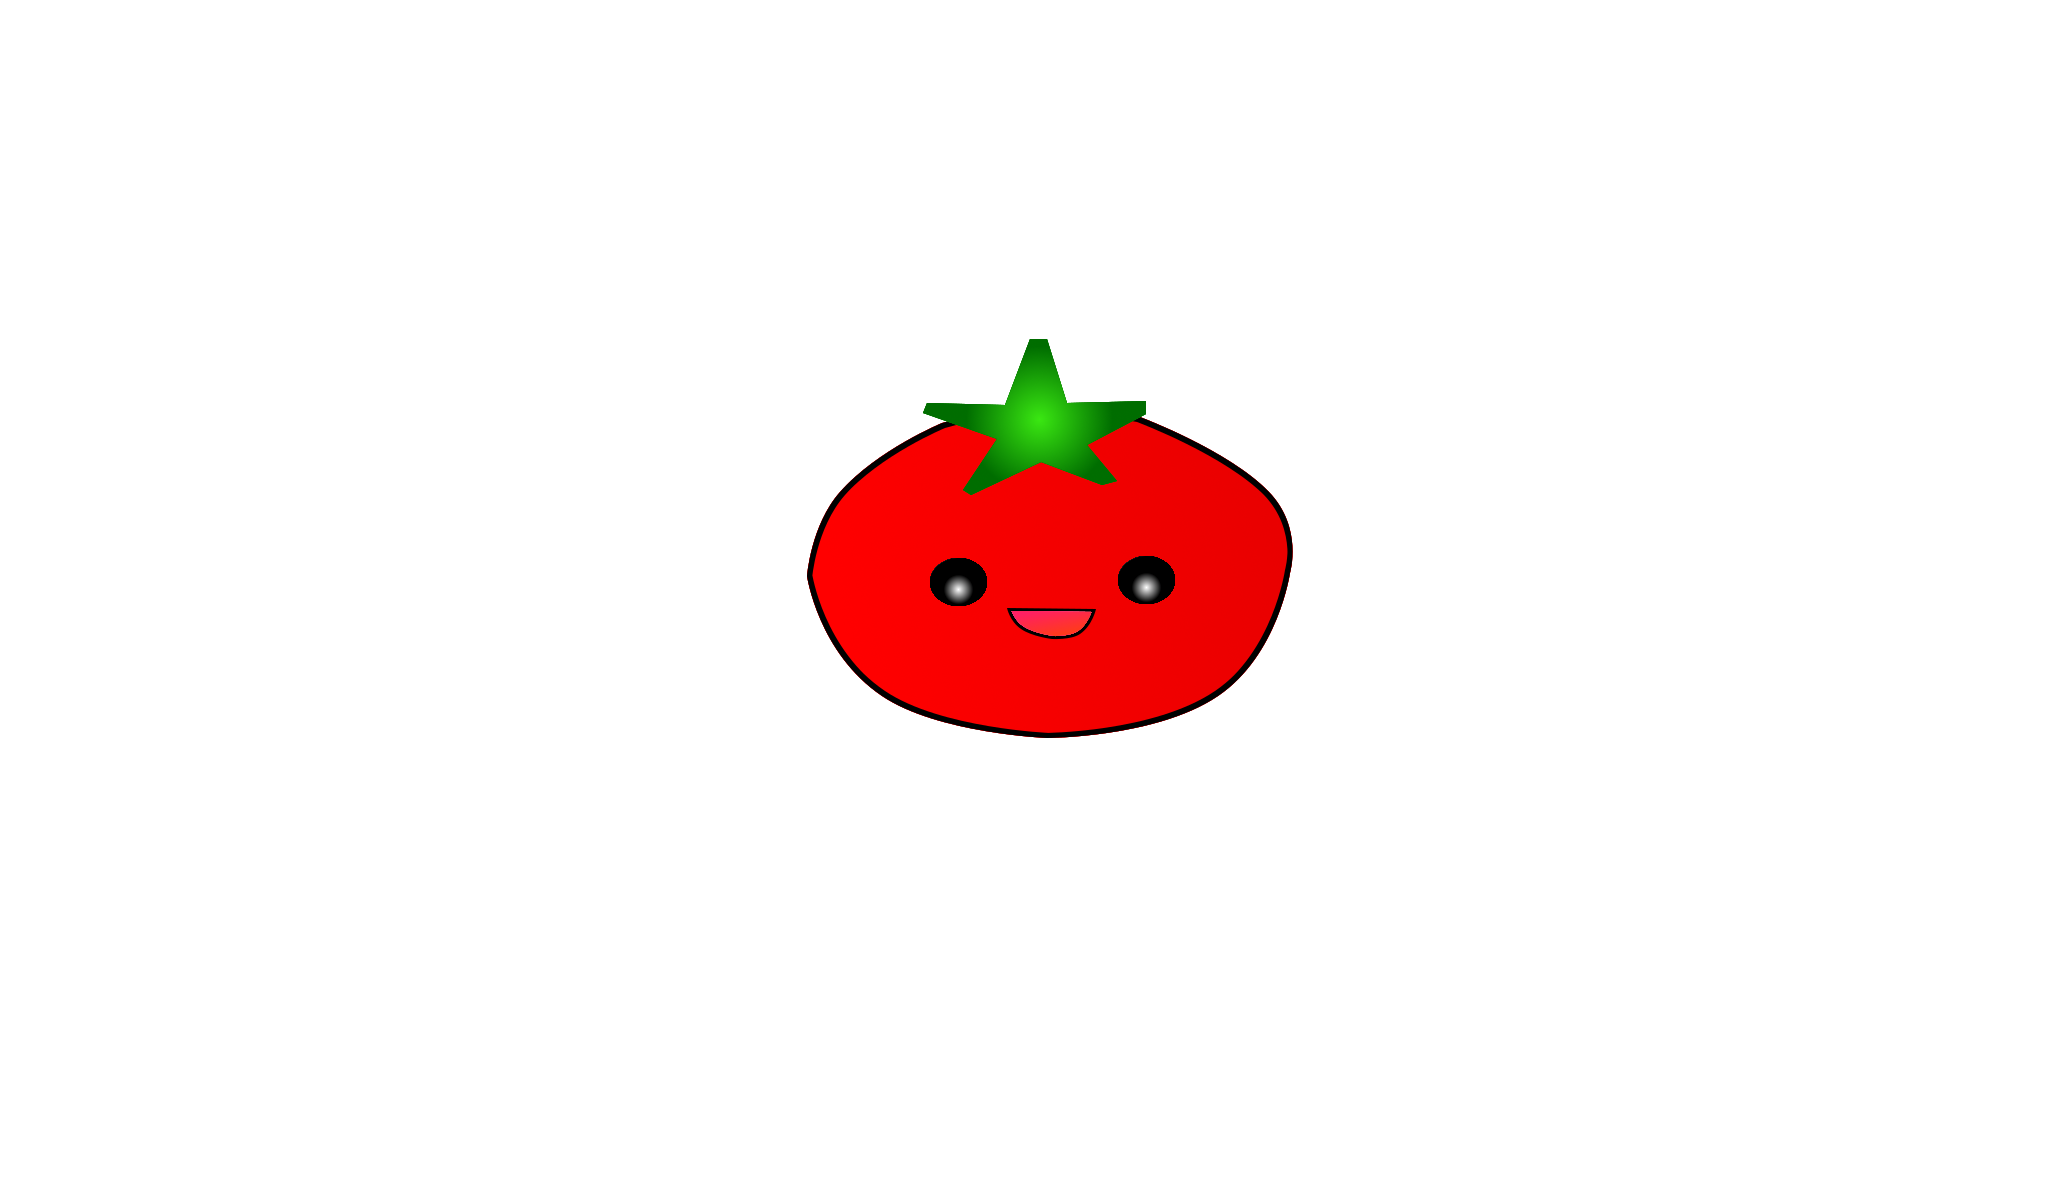

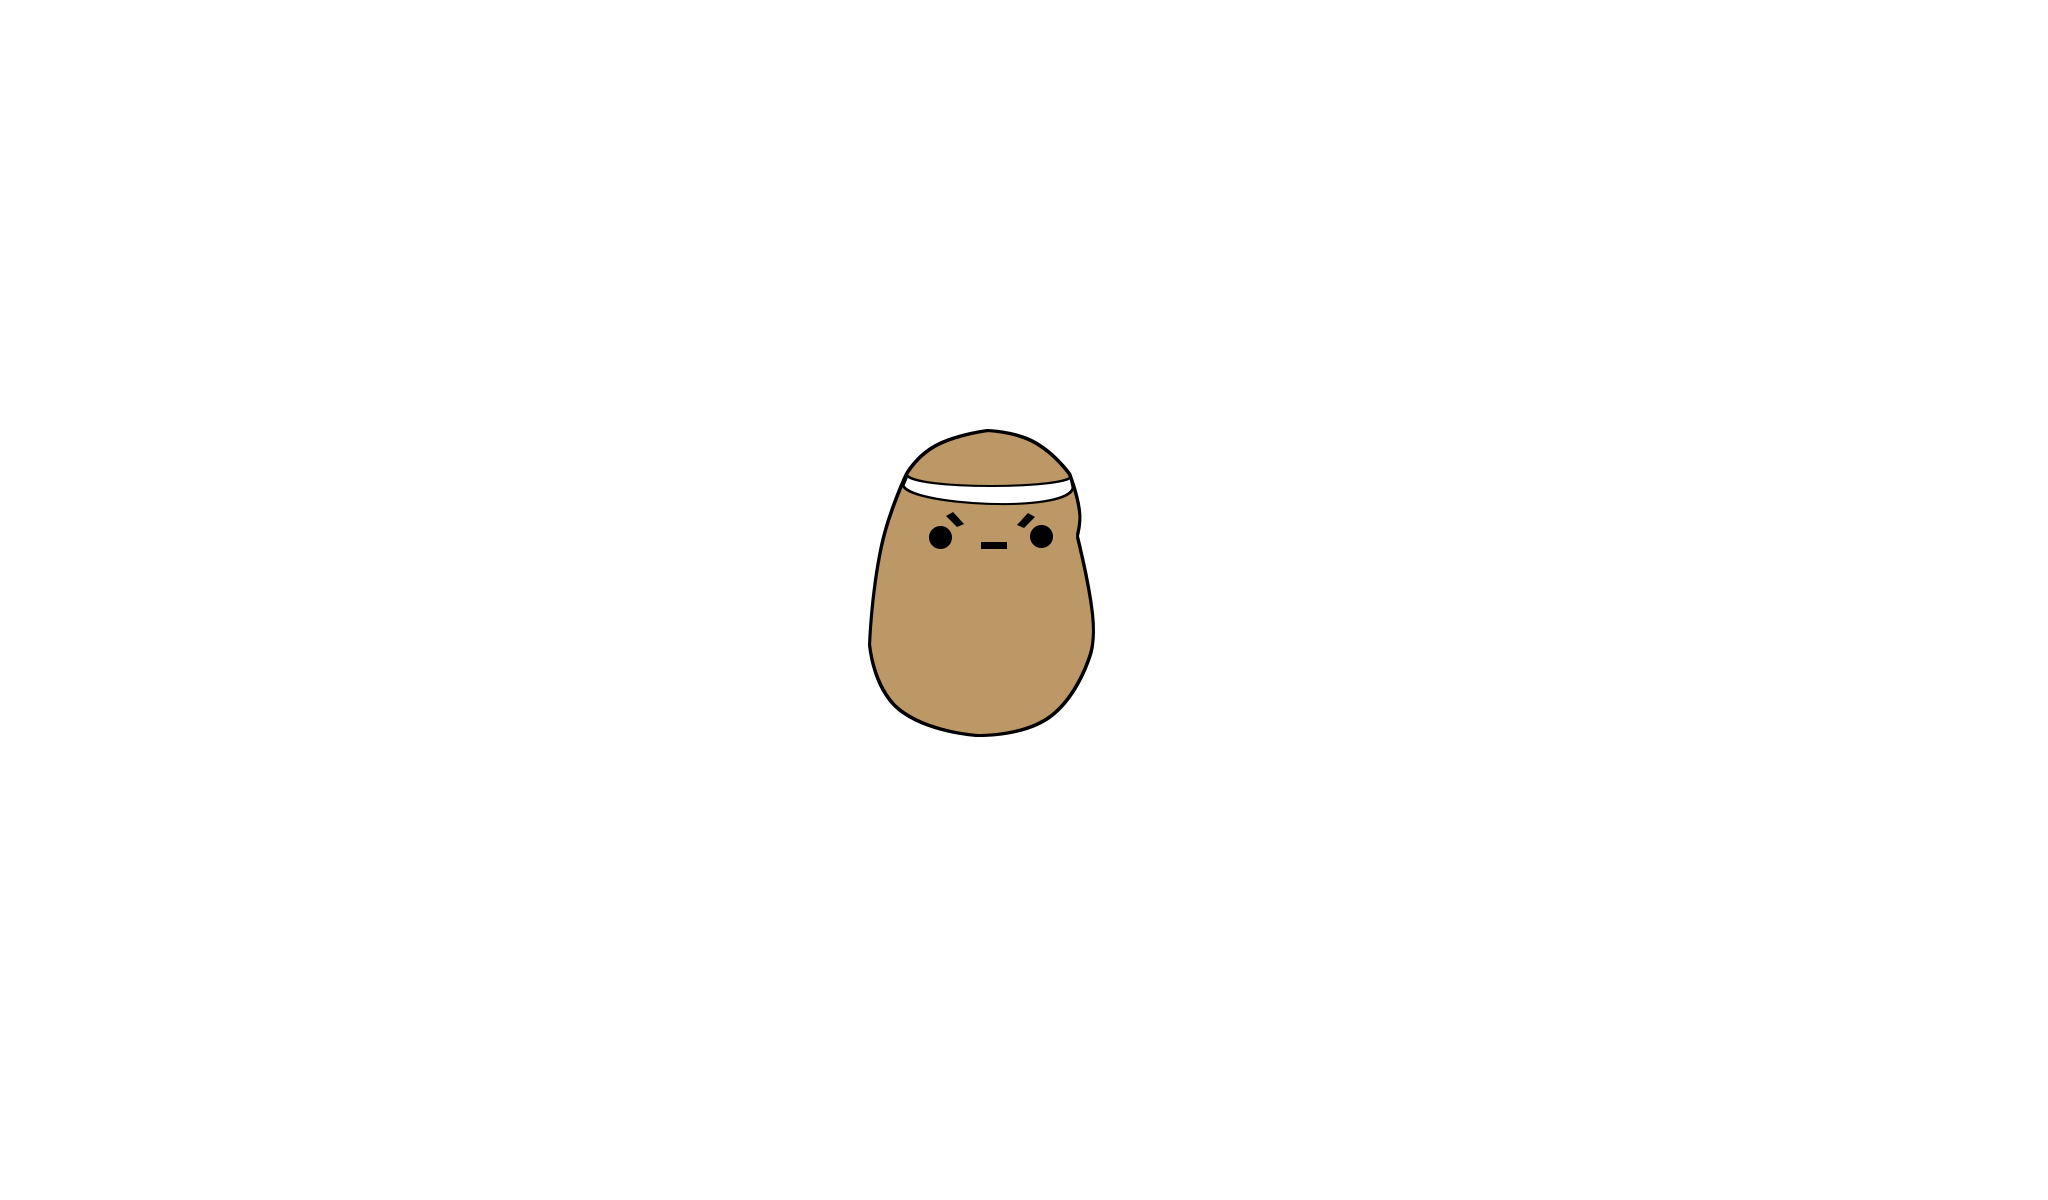
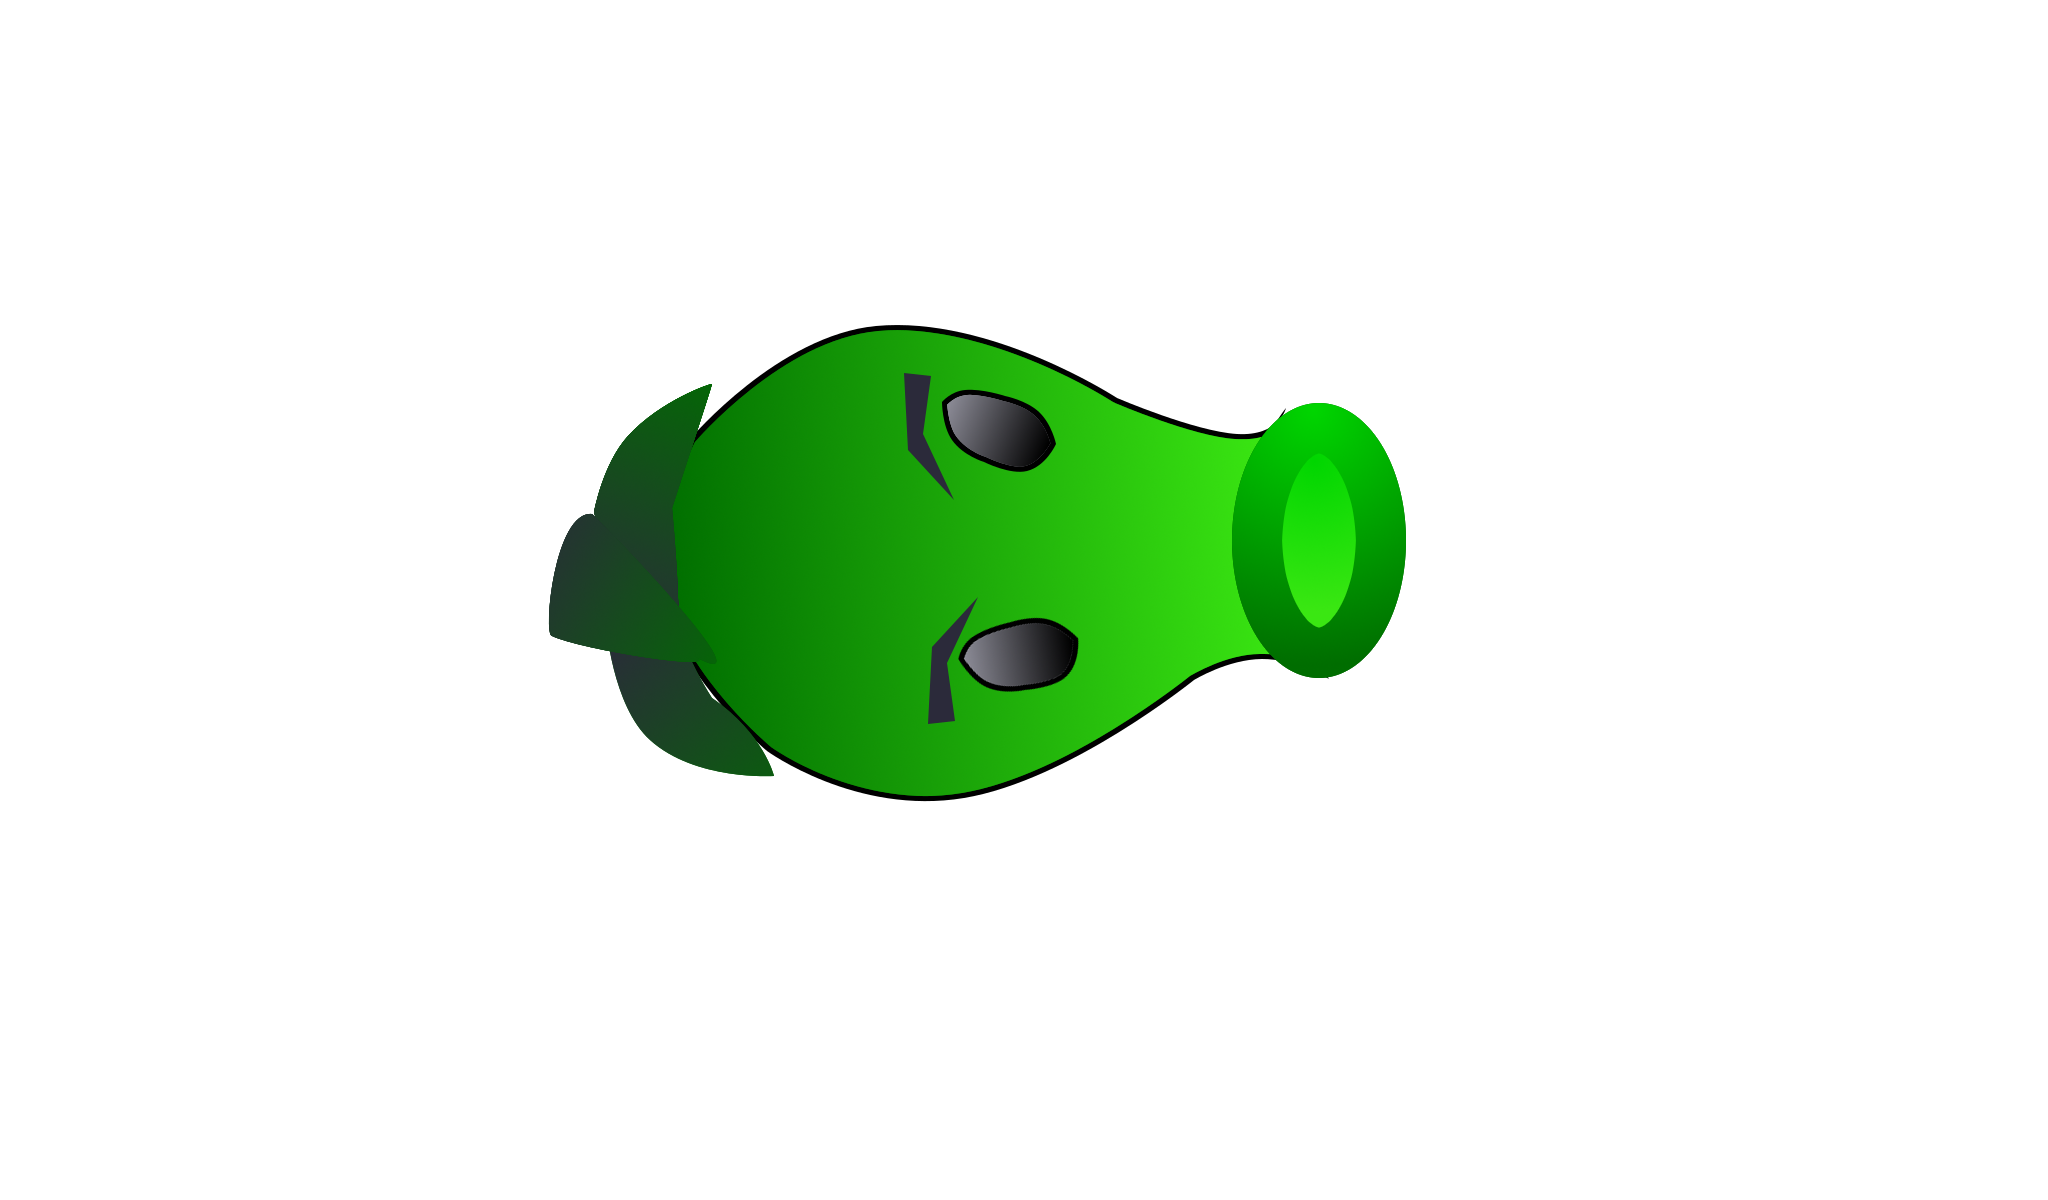

All the assets were made using GIMP, steps I followed while making them are as follows
- Made a rough outline for each image on paper.
- Scan or take a picture of sketch and open image in GIMP.
- Use path tool in toolbox to mark the points where curves change.
- After all points are marked, within path tool select edit option, using this you can change curves of your image to match original sketch.
- Then, choose selection from path option within path option. This will select the area marked by you using path tool.
- Then fill in any colour of your choice for the layer using Bucket Fill Tool in toolbox.
- (Optional) To mark outline for your layer you can fill with outline colour, then use shrink option in select tab and select a shrink value (5-10 recommended, but can be changed according to requirements).
- (Optional) Add gradient using Blend Tool in toolbox.
- Repeat same for all layers.
- Use ctrl + shift + e or export as option in File tab to export file as a png which can be use in your games.
If you think anything is missing or hard to understand please let me know. I'll try to make it as easy as possible.
Files
plant assets.zip 551 kB
Sep 21, 2020
Get Plant assets
Download NowName your own price
Leave a comment
Log in with itch.io to leave a comment.